 The 650's camera offers a screen of preferences, some of which you can put to good use. Get the camera running and press the Menu Button. The top item, "Effects," offers Black and White or Sepia. Sorry, I couldn't find any mention of either one in the 700w manual or menus.
Digital cameras exploit color. For plain ol' black and white you have to convert--often tricky. The Treo 650 does it automatically, probably better than most people can do with post processing. Black and white imaging offers a great way to sidestep nasty color situations like mixed light sources and bad color reflections--say, green objects that cast an eerie glow on everything but the Saint Paddy doublets on the buffet. If you intend to reproduce in black and white--like a faxed or Xerox duplicated report--you're a step ahead. With so much color around, good black and white looks cool, too.
Of course, shooting in Treo's black and white mode imposes the same limitations as shooting color: noisy shadows in low light, camera and subject motion concerns, revolting response to backlit subjects.
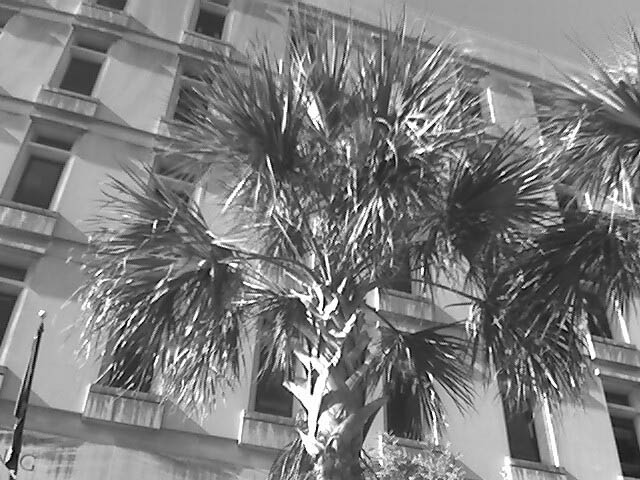
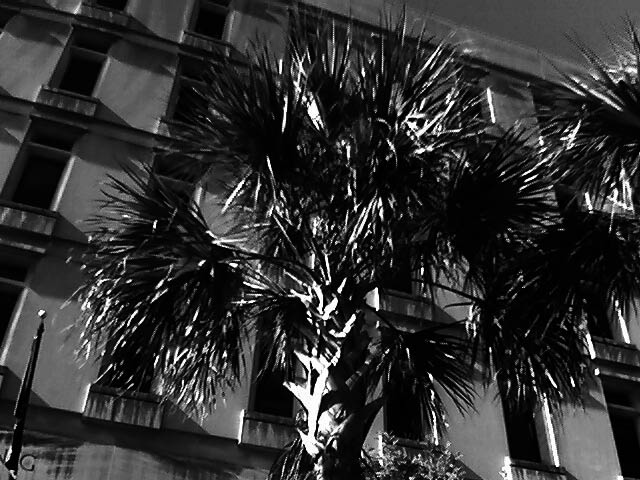
Here is a before/after of a black and white Treo 650 picture:
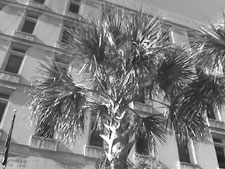
Antiques
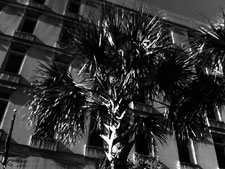
Your Treo 650 also offers an arty way of hiding bad color situations, even mildly bad lighting. Namely, a really good sepia effect. This clever trick produces pictures like those old photos on grandma's mantel. Very pretty. Fun, too. For an authentic old-timey look, don't fret too much about subject motion. Old cameras needed very long shutter speeds. Watch for modern objects that betray your ruse, though. The people who posed for those old portraits did not sport Rolexes or even Timexes or stand near huge-screen TV sets.
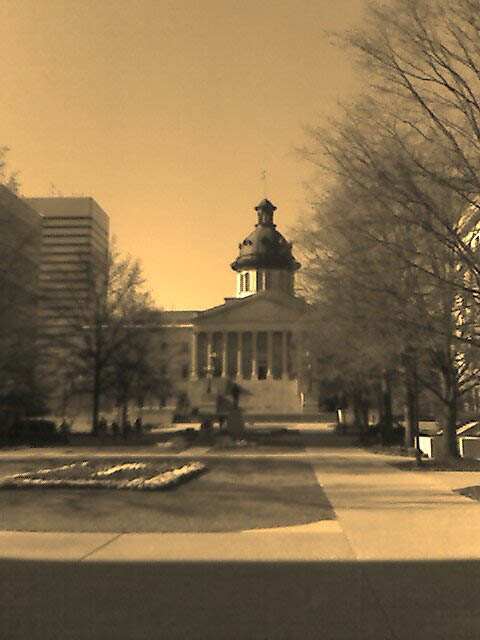
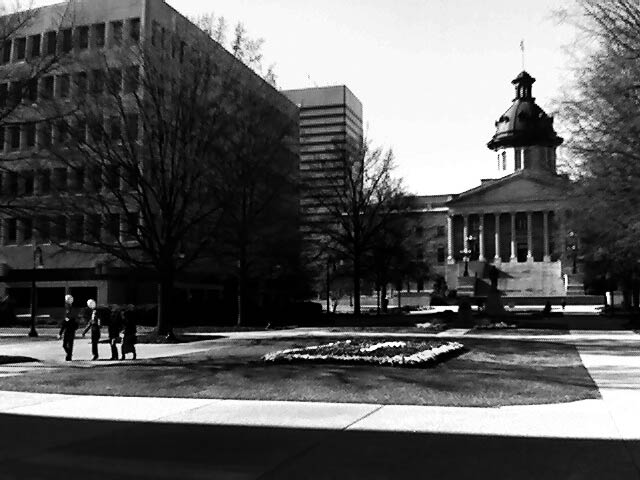
Same State House, different day, this time in sepia. Looks like General Sherman just left, eh? Get rid of the color problems by getting rid of the color.


Post processing
My grandmother often warned about hanging lace curtains in an outhouse. LBJ's eloquent chicken salad caveat applies, too. Nonetheless, if your Treo's pictures blaze trails in crummy (technical term), here's how to fix them up in their Sunday best, complete with salad and lace.
First you need software--an image processor like CorelPaint, Paint Shop Pro, Photoshop, or their open-source equivalents. For a free image processor (Windows) that rocks check into Irfanview. Small and light, it imports/exports a gaggle of file formats, and it will do everything you need except localized correction. Irfanview has my seal of approval, although for my own work I default to Photoshop.
The first step in post processing is to move the pictures to the computer. You don't need SD cards to do this, but they simplify the task. My SD card is a 512-megabyte SanDisk Ultra II Plus USB, which folds in half to reveal a standard USB 2.0 connector. My 650 reports that the card will hold almost 7,000 Treo photos. That'll be plenty for this week.
Card or not, your photos get copied to your computer during HotSync. On a PC, look for them in My Documents/My Pictures/ herded into folders named Palm-something--different for 650 and 700w.
Rotate and Crop
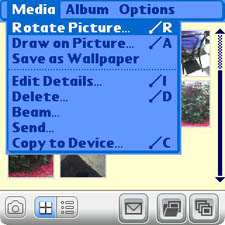 Although Treos have square screens, their photos are rectangular. Both models provide an easy Rotate function (Treo 650 menu pictured), or you can do it in the computer.
The 700w provides cropping from its menus. With Treo 650's, cropping happens only after you move the images to a computer. Normally I'd recommend merciless cropping to eliminate useless background space, send extraneous objects packing, and force the viewer's attention to the subject at hand. With Treo images, however, cropping can exacerbate the poor resolution and enlarge compression artifacts. Crop away, by all means, but Treo images won't withstand much stretching.
Adjust resolution and picture size
For email and web pages, you want 72dpi (dots, meaning pixels, per inch). For reproduction on paper you want at least 300dpi. Use the "Resample" option (Notice you cropped before you set this) to establish the dpi first, then choose in what size you want the final image. If you have trouble with the jaggies when enlarging, raise picture size by 10 percent at a time, repeating until you see what you want (or a hopeless mess). This plan will yield a fuzzy, but not jaggy enlargement, probably still in need of some hand work.
Brightness/Contrast, Color Balance/Saturation
This is a job for your eyeballs. Judging color requires much practice, so don't give up too easy. Look at the picture and look away into a color-neutral area. Is the photo too dark? Too dramatic--i.e., too contrasty. Is it too green? Blue? Red? Look for known colors, like skin, and judge whether those skew into green or blue (the most likely possibilities). Some image processors provide a "ring-around" to help you decide which way to adjust. Very helpful.
Fix the brightness and the contrast before you tackle color. Photoshop provides two means of adjusting color balance. Treo pictures usually need both. "Curves" puts the image in the right ballpark, and "Color Balance" fine tunes shadow and highlight. Using "Curves" to adjust brightness keeps the highlights from blowing out. After you tweak the color you might need another brightness adjustment. For printing on paper nudge the midtones a little higher (ten percent-ish) than what looks right on screen.
Extra processing >>
Copyright 1999-2016 TreoCentral. All rights reserved :
Terms of Use : Privacy Policy
TREO and TreoCentral are trademarks or registered trademarks of palm, Inc. in the United States and other countries;
the TreoCentral mark and domain name are used under license from palm, Inc.
The views expressed on this website are solely those of the proprietor, or
contributors to the site, and do not necessarily reflect the views of palm, Inc.
Read Merciful by Casey Adolfsson